Digital Commons's logos Digital Commons Help Center
  • Products
    • Digital Commons IR
    • Digital Commons Exhibits
    • Digital Commons Journals
    • Digital Commons Data
  • Resources
    • Accessibility Hub
    • Announcements
    • Webinars
    • DC Customer List
    • Client Community Portal
    • Submit a Support Case
    • My Cases
    • Products Overview
  • Status
  • Contact Us
registration open

Join the Digital Commons team and other customers at the Elsevier Impact Conference in San Diego from April 14–16

Learn more
  • Home
  • Digital Commons Exhibits
  • DCX Scrolling Exhibits

How Can We Help?

Search Results

Contact Us

If you still have questions or prefer to get help directly from an agent, please submit a request.
We’ll get back to you as soon as possible.

Contact us

Create a New Scrolling ExhibitCreate a New Scrolling Exhibit

Create an Exhibit and Customize Basic Settings

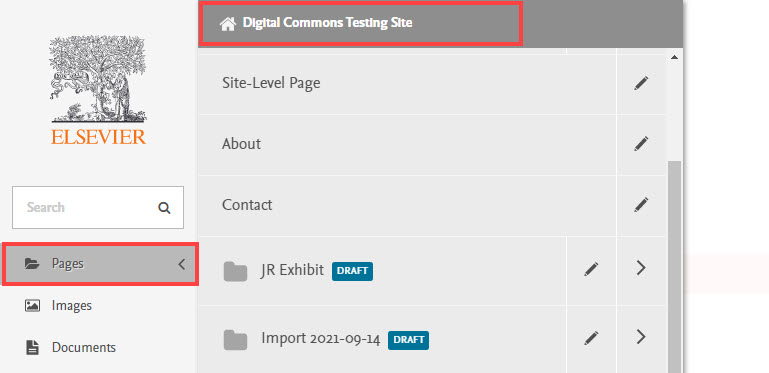
  1. From the DCX administrative interface: Click Pages in the sidebar, and select the site name at the top of the menu.      
    DCX administrator interface showing the Pages option selected in the site navigation.
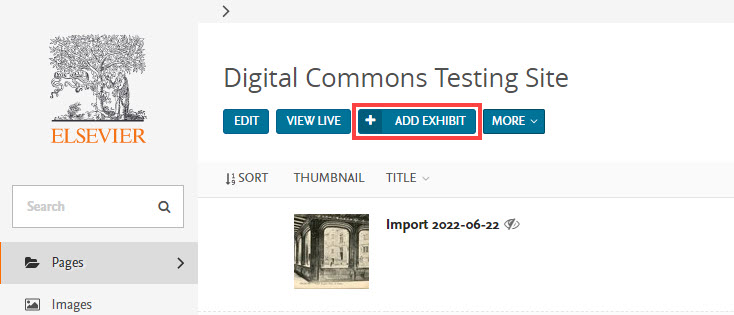
  2. Click Add Exhibit under the site name on the site contents page.DCX site contents page showing the option to add a new exhibit.
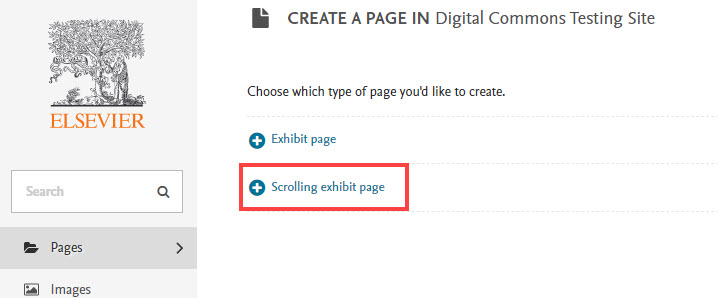
  3. Select Scrolling exhibit page. This option will appear below the “Exhibit page” option if you subscribe to the DCX Professional or Premier tier.     
    Page creation screen with the scrolling exhibit page option selected.
  4. On the exhibit edit page: Add a Title at a minimum. You can also enter Banner text and Banner subtext. Text formatting options for banner subtext include bold, italic, headings, line breaks, and links. 
    Exhibit edit page showing fields for entering a scrolling exhibit title and banner text.
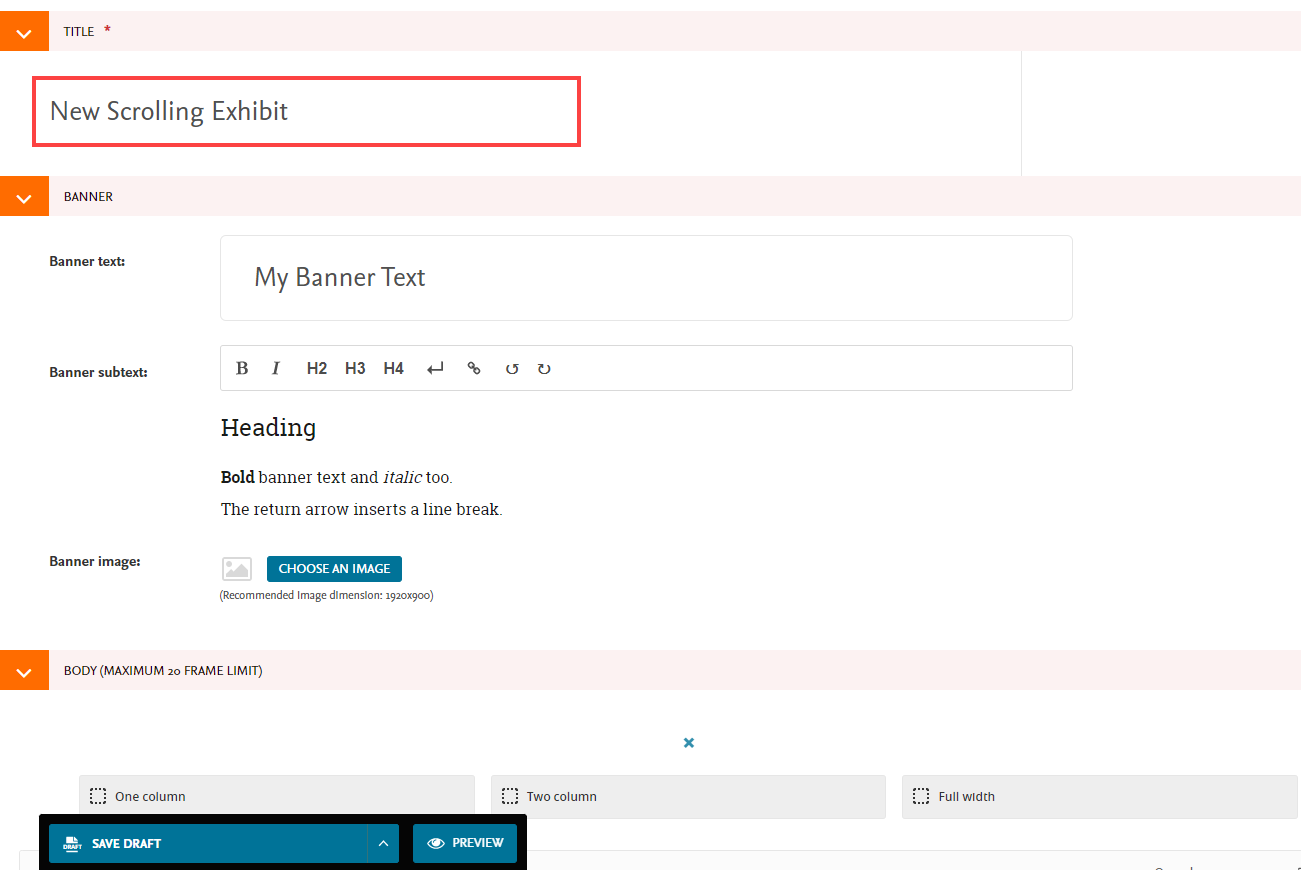
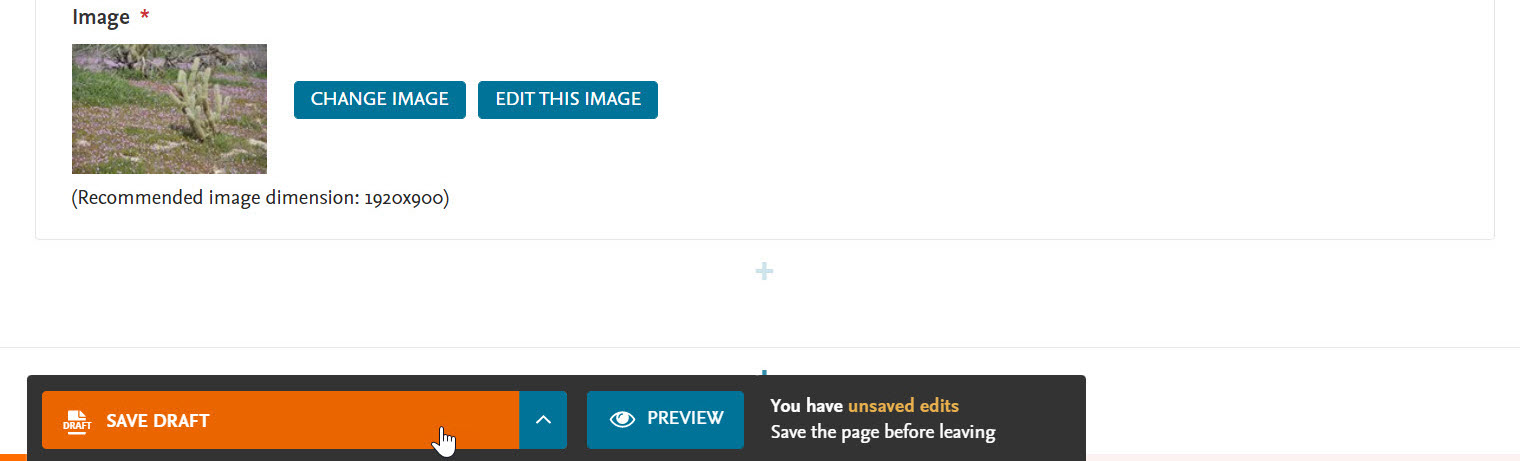
  5. To add a Banner image: Click Choose an Image and either upload a new image or search for images already present on your exhibit site. Recommended dimensions for the scrolling exhibit banner image are 1920 x 900 pixels. See Upload or Search for Images in DCX for additional details about working with images, if needed. 
  6. To continue building your exhibit, proceed to the Body section to select and populate frames as described in Add or Revise Content in a Scrolling Exhibit. To return and complete the scrolling exhibit later, click Save Draft at the bottom of the edit page.

Saving and Publishing Your Scrolling Exhibit

Anytime you wish to save your work in an exhibit, or if you need to step away and return later, click the Save Draft option at the bottom of the edit page.

Exhibit edit page showing Save Draft and Preview buttons for reviewing changes.

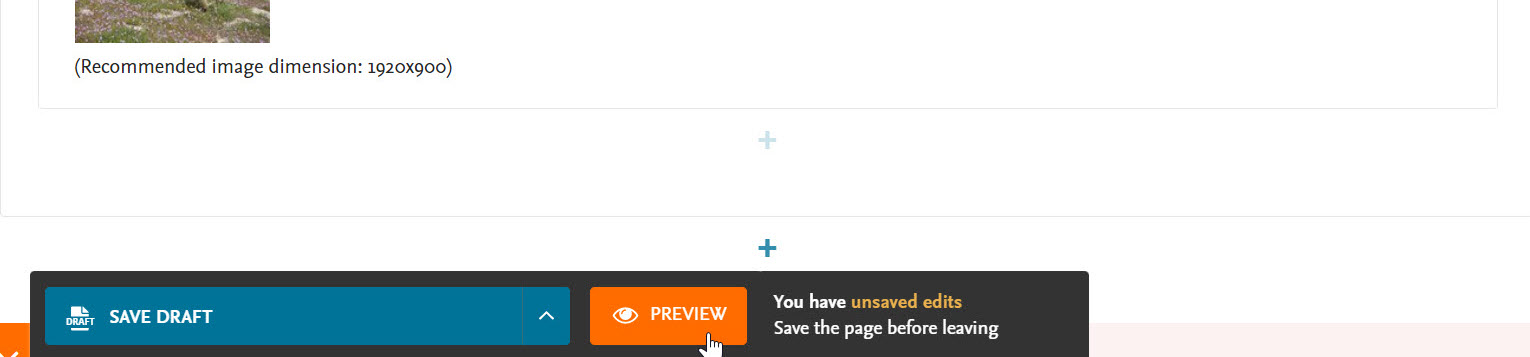
Click the Preview button to see how a new exhibit, or changes to an exhibit, will display when live.

Exhibit edit page with the Preview button highlighted next to the Save Draft button.

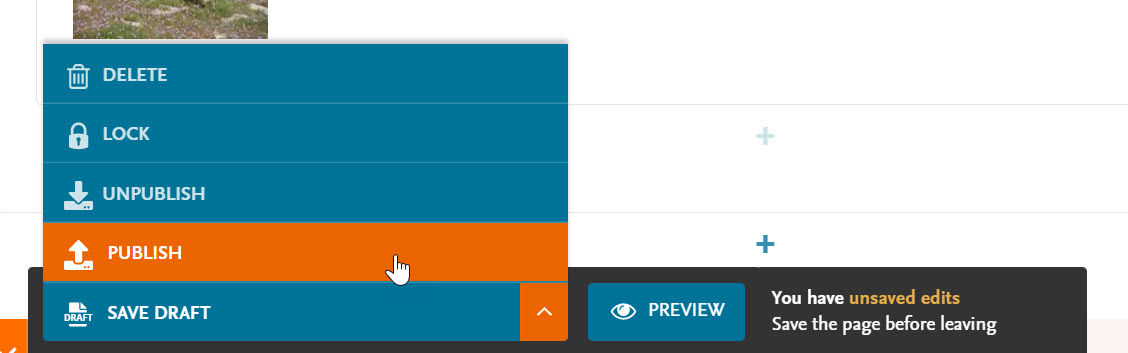
Click the arrow next to Save Draft and select Publish to make your scrolling exhibit live or if you need to publish any new changes.

Exhibit edit page showing the publish menu with the option to publish a scrolling exhibit.

You can set an exhibit to private if you'd like to hide it from public view while working on it. If your exhibits site is currently set to private, the scrolling exhibit will automatically inherit that privacy setting. To hide the exhibit on a public site, see Change Scrolling Exhibit Visibility or Thumbnail.

Table of Contents
  • Create an Exhibit and Customize Basic Settings
  • Saving and Publishing Your Scrolling Exhibit
Related Articles

DCX Scrolling Exhibits Overview

Add or Revise Content in a Scrolling Exhibit

Content Types in Scrolling Exhibits

Change Scrolling Exhibit Visibility or Thumbnail

Was this article helpful?

Yes
No
Give feedback about this article
View/Download PDF Download Article

    About Digital Commons

  • Announcements
  • Products Overview

    Additional Support

  • Webinars
  • Client Community

    Need Help?

  • Contact Us
  • Submit a Support Case
  • My Cases
  • Linkedin
  • Twitter
  • Facebook
  • Youtube
Elsevier logo Relx logo

Copyright © 2026 Elsevier, its licensors, and contributors. All rights are reserved, including those for text and data mining, AI training, and similar technologies. For all open access content, the Creative Commons licensing terms apply.

  • Terms & Conditions Terms & Conditions
  • Privacy policyPrivacy policy
  • AccessibilityAccessibility
  • Cookie settingsCookie settings

Knowledge Base Software powered by Helpjuice

Expand