 Digital Commons Help Center
How Can We Help?
Displaying Logos, Images, and Slideshows on Your SiteDisplaying Logos, Images, and Slideshows on Your Site
Digital Commons offers image display features that you can use to visually enrich your repository’s homepage, sidebar, or collection pages.
When requesting a custom design or redesign for a site, journal, or event, you may also ask to include these elements in mock-ups.
Full-Width Homepage Image
The repository homepage can feature a full-width image in the main content area. You may specify that you’d like to include this during setup or, for existing sites, simply upload an image at the site level. You can switch out the image regularly or as needed.
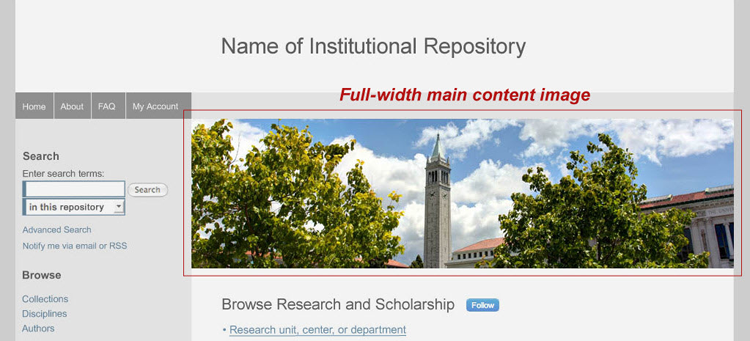
How to Add a Homepage Image
- On the administrator Configuration page at the site level, upload a PNG or JPG file in the Homepage Image section. The image should be a minimum of 740 pixels wide to span the main content area. Larger images will proportionally resize to fit.
- Click Save Changes, then click Publish saved changes in the Configuration left sidebar.
Community and Publication Structure Logos
You can add a logo above the introductory text in any community or publication structure (series, book gallery, etc.) on your site. Logos provide context for visitors and help enliven landing pages for colleges, departments, centers, or initiatives. Images uploaded as logos can be actual logos or introductory banners or photographs representing a particular collection.
Structures grouped within a community inherit that community’s logo, so it’s easy to spruce up many of a collection’s pages with a single file. You can always upload unique logos for the individual structures as well or choose not to display a logo for them.
Logos can be stacked above the structure title or appear alongside it, depending on the size. You can also hide the title, if desired, such as when the title appears in the logo itself. See the examples below, followed by instructions.
Logo stacked over the structure title:

Logo and structure title side by side:

Logo with the structure title hidden:
The community title has been hidden so it doesn't duplicate the name of the center appearing in the logo.

How to Enable Community or Publication Structure Logos
- On the Configuration page of the community or publication where you'd like to add a logo, find the Logo section. This will read Series Logo within a series, Book Gallery Logo within a book gallery, etc. For journals, contact Consulting Services, who will add your logo and make any necessary layout adjustments to fit your journal’s setup.
- Upload a GIF, JPG, or PNG and enter the dimensions.
- Select the options you want:
- Show logo only and hide [structure] title: Useful when the logo already includes the title.
- [Structure] logo and title are stacked: Displays the title below the logo.
- Display logo in this community only: Prevents the community logo from displaying in grouped sub-communities or publication structures.
- Stop inheriting the parent community logo: Prevents a sub-community or publication structure from automatically displaying the parent community's logo.
- Enter a Logo link if you want visitors to go to a webpage when they click the logo.
- Click Save Changes when done; then click the Publish saved changes link in the Configuration left sidebar to display the logo on the front end. You may use the Preview changes link after saving to see how things will look before publishing changes.
Sidebar Logos and Images
If you wish to include an image or logo in the sidebar of your repository, community, or publication, let us know during setup or at any time once your site has launched. This image can link to an external site, such as your library, supporting institution, or event sponsor.
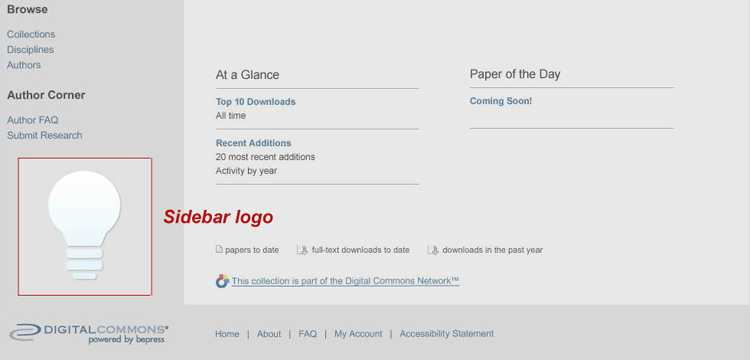
How to Enable Sidebar Logos
Include this request with your site, journal, or event setup form; or contact Consulting Services to add a sidebar logo to an existing site at any time.
Image Slideshows and Content Carousels
Display dynamic image slideshows on your repository, community, or publication homepage with images powered by a Digital Commons image gallery or other RSS image feed. Make it a content carousel if you wish to include curated metadata for your images.
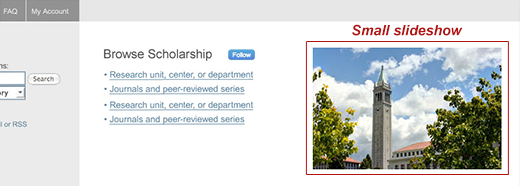
Small slideshow:
These rotating images can fit comfortably on the page without overwhelming your text content.
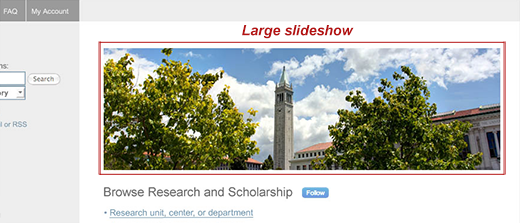
Large slideshow:
Select this option if you have big, high-resolution images that you would like to display prominently.
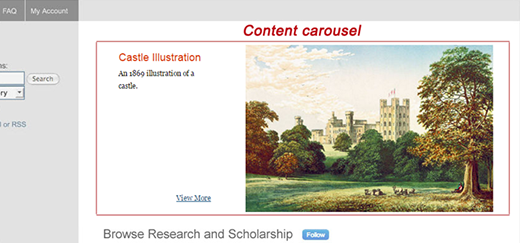
Content carousel:
The carousel provides a compact combination of images and text, and can include a link to featured content.
How to Enable Slideshows and Carousels
On the site homepage:
If you would like to add a slideshow or carousel on your repository homepage, share your request with Consulting Services. Slideshows or carousels may be added to the homepage to highlight featured collections, glimpses of academic life, or the value of depositing research into an IR. If you know you’d like to include one in a new site, journal, or event design, indicate this on your setup form and we will include it in the mock-up.
On a publication structure or community page:
- Look for the “Content Carousel or Image Slideshow” section on the Configuration page within the community or publication you’re modifying.

- Slideshows and carousels support feeds from image galleries on your site as well as image RSS feeds from other sources. Enter the feed URL in the Image feed URL for slideshow setting. If using a Digital Commons image gallery, append
/gallery.rssafter the gallery URL (e.g.,https://ir.marin.edu/student_art/gallery.rss). - For a content carousel, select “Content Carousel” in the Make Slideshow a Content Carousel drop-down menu.
- Control display size by entering height and width settings. Consider using images of a uniform size and shape for a cleaner transition between slides.
- For image slideshows, enter the desired width and height of the display area in pixels using numbers only. 300 × 300 results in a standard, medium-sized slideshow. The maximum width is 666 pixels, which is appropriate for slideshows with wider, banner-like images.
- Tip: You can approximate width and height and use the Preview changes link in the left sidebar to fine-tune the dimensions (be sure to click Save Changes before previewing).
- For carousels, enter a pixel value for width between 640 and 666 (enter the number only). Height can be left blank.
- For image slideshows, enter the desired width and height of the display area in pixels using numbers only. 300 × 300 results in a standard, medium-sized slideshow. The maximum width is 666 pixels, which is appropriate for slideshows with wider, banner-like images.
- Click Save Changes, then click the Publish saved changes link in the left sidebar.
Changing the links for images in a slideshow or carousel:
Visitors can click on images in a slideshow or content carousel to visit the image page in the gallery. If you would like to customize the link for any images to go to a different page (e.g., a featured collection landing page), share your request with Consulting Services. They will add a metadata field to the image gallery so you can add custom links to any or all images.
For more information about the settings on this page, see Digital Commons Administrator Configurations.